
Last updated November 15, 2026
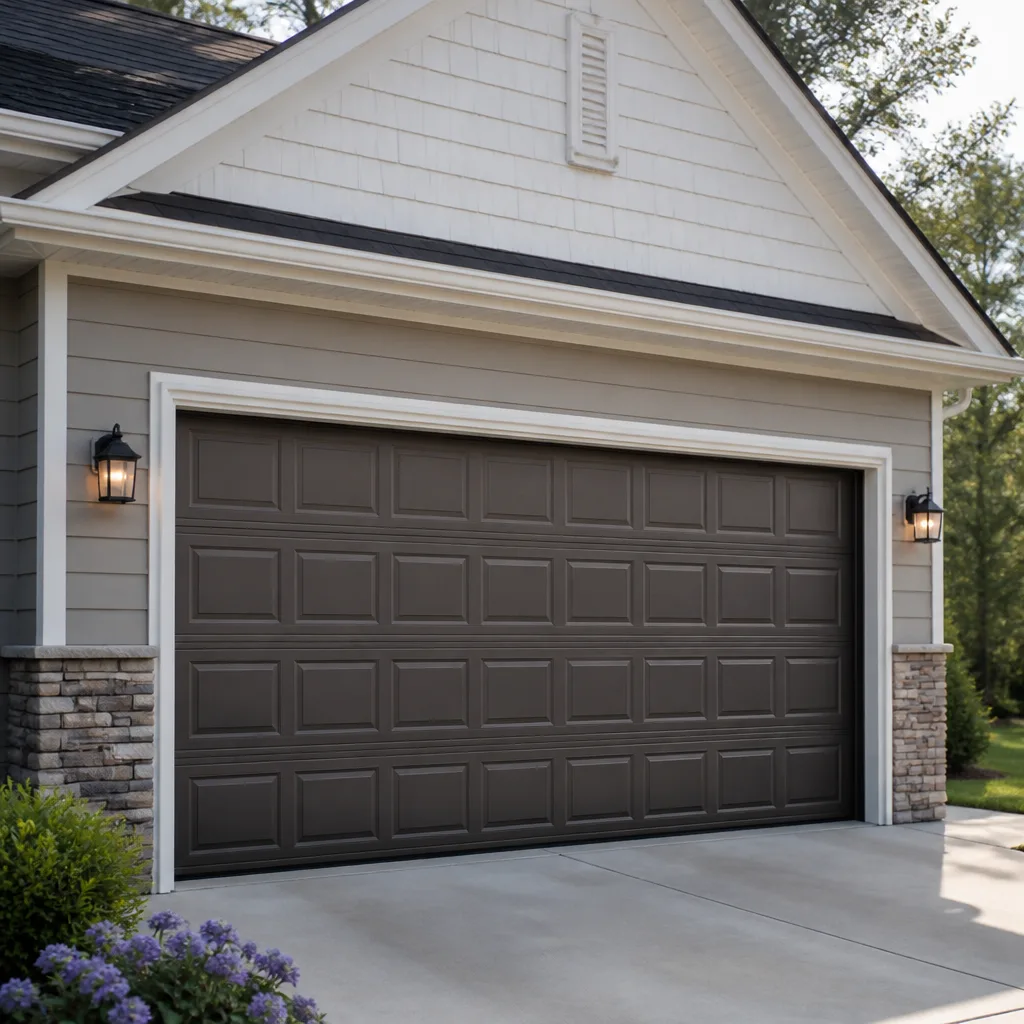 Raised-panel steel
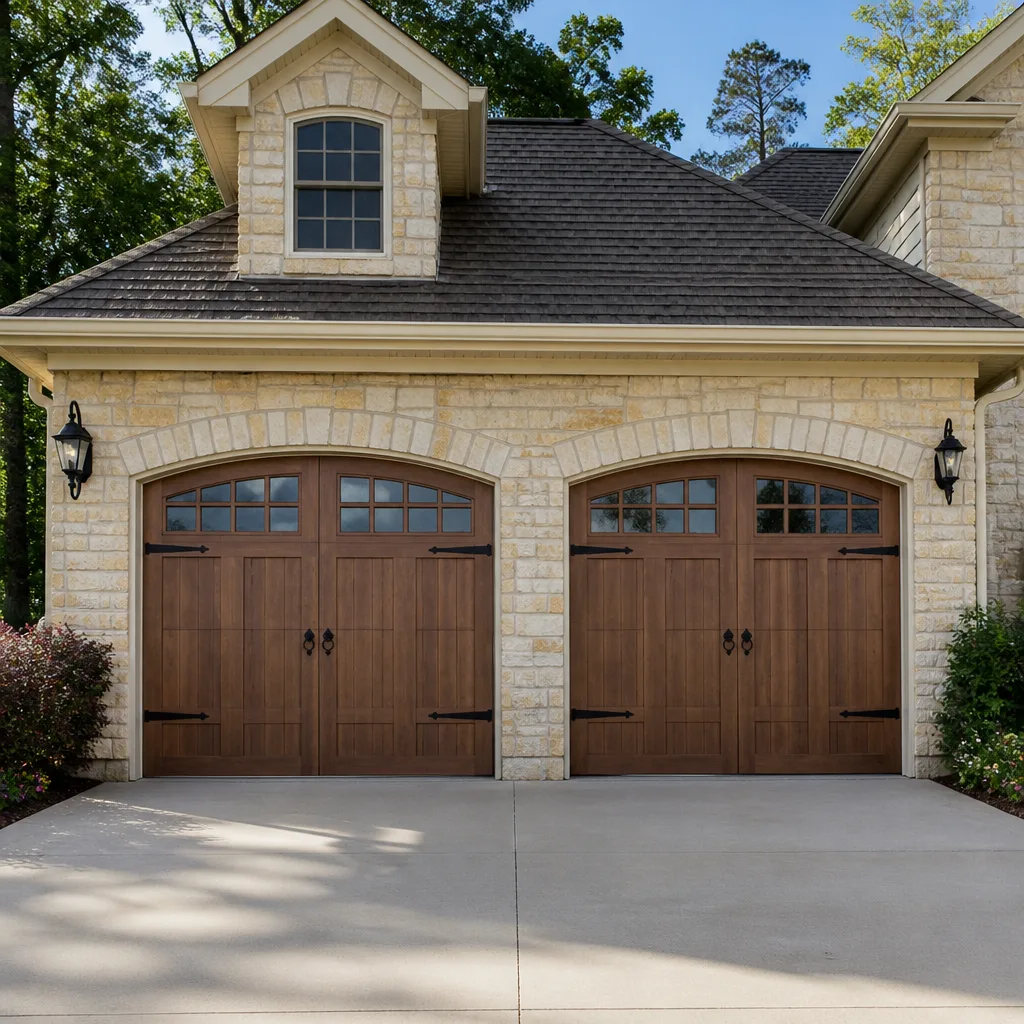 Carriage house
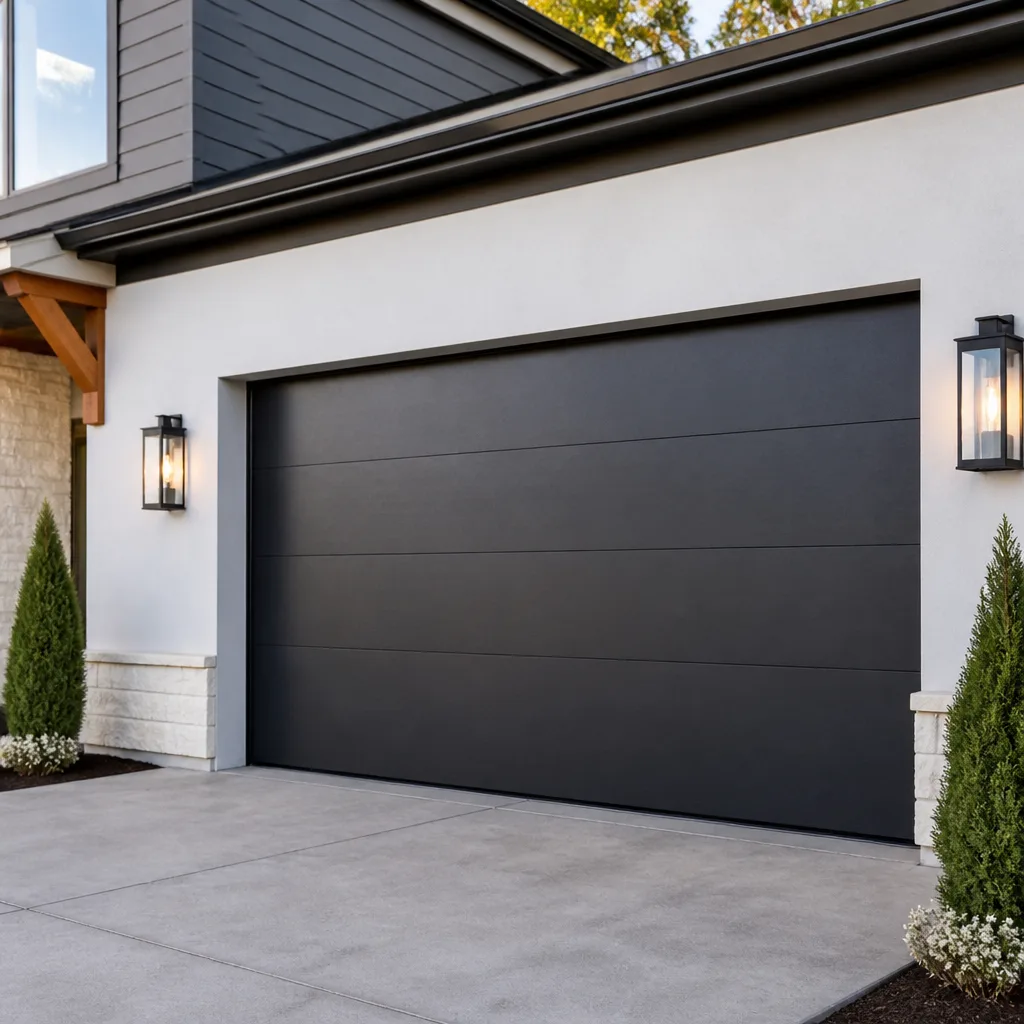 Modern flush
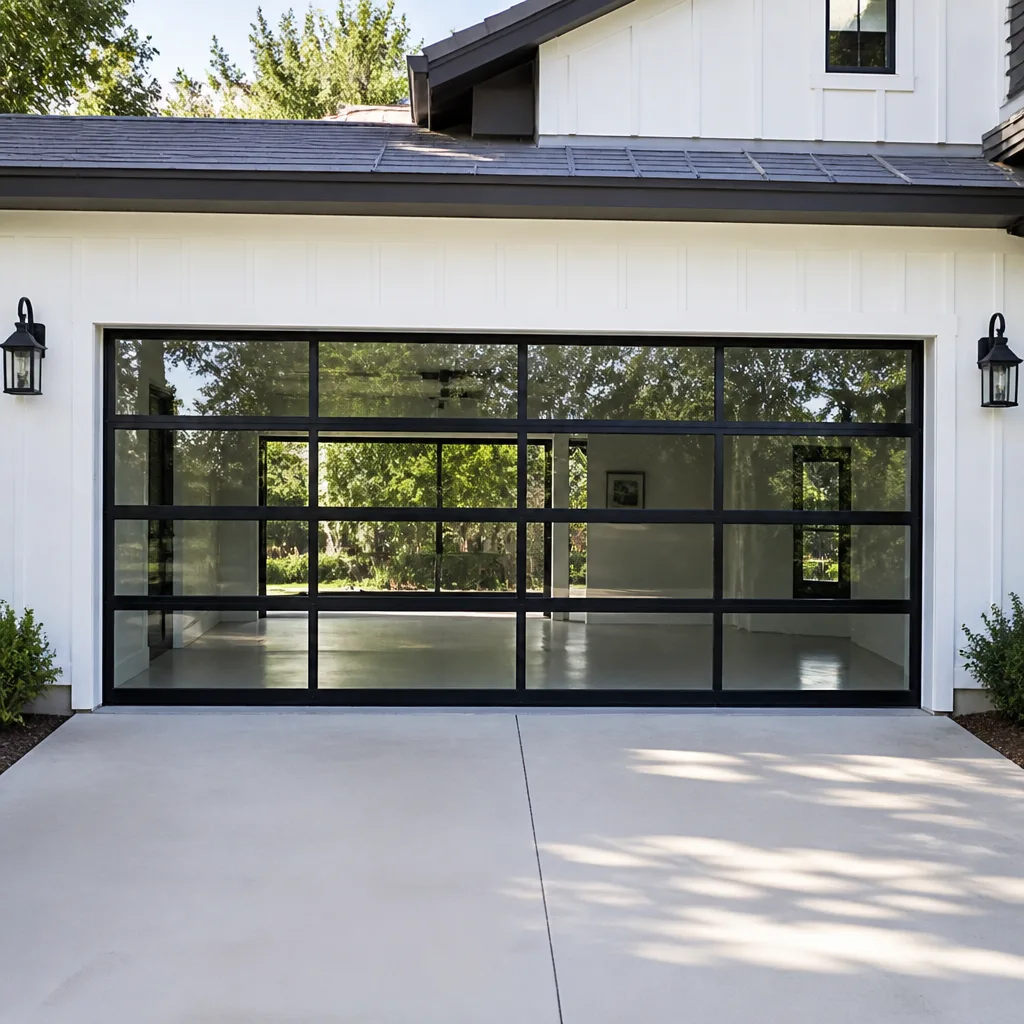 Full-view glass
 LiftMaster openers
 Chamberlain openers
Full 25-point door and opener safety check with every visit - springs, cables, rollers, tracks, and your LiftMaster or Chamberlain opener included
You get a price before we start. It does not change when the pro arrives.
Get your free estimateDIY vs Professional Garage Door: The Glendale Homeowner’s Decision Guide
Most garage door advice treats DIY as a test of nerve. It isn’t. It’s a test of which specific tasks carry asymmetric risk, and that calculation shifts depending on where you live. In Glendale, a torsion spring that was borderline safe to adjust in a 70-degree workshop is a different animal at 110 degrees, and the tutorials people watch were mostly filmed somewhere mild. This guide breaks the work down task by task: what you can reasonably handle yourself, what needs pro tools but not necessarily a pro, and what should never be touched without a trained technician. You’ll finish knowing where the line sits for your door, and why that line moves in desert heat.
Quick Answer
In Glendale, routine maintenance and some opener programming are genuinely DIY-safe, but spring work, cable replacement, and anything requiring a torsion wind are jobs for a trained technician – the injury risk is real and the heat here makes tiring springs fail at lower loads than their rating assumes. Track alignment and roller or weatherstrip swaps sit in the middle: you can do them, but only with the right tools and a clear understanding of what “aligned” actually means. When in doubt, a professional diagnosis costs less than a misjudged repair, and it tells you whether to finish the job yourself or hand it off.
Styles & brands we work with
- Raised-panel steel
- Carriage house
- Modern flush
- Full-view glass
- LiftMaster openers
- Chamberlain openers
Table of Contents
- The Task-by-Task Decision Matrix
- Why Desert Heat Changes the Risk on Three Common DIY Repairs
- The Hidden Cost of DIY Errors in Glendale
- DIY Opener Programming vs. What Needs a Technician
- Using a Professional Diagnosis as a Decision Point
- Jobs That Are Genuinely DIY-Safe
- The Tools You’d Need (and What They Cost Against a Service Call)
- What Changes by Glendale Neighborhood
The Task-by-Task Decision Matrix
The useful question isn’t “can I do this?” It’s “what happens if I get it wrong?” That’s what separates a five-minute job from a five-figure mistake. Here’s how garage door work breaks down across three tiers. Use this as your filter before you touch anything.
Tier 1: Genuinely DIY-safe
- Visual inspection of springs, cables, rollers, and hinges – eyes only, no tools, no contact.
- Lubrication of rollers, hinges, and the torsion bar with a proper door lubricant, not household oil.
- Weatherstrip and bottom-seal replacement on most doors – the seal slides into a retainer and doesn’t hold tension.
- Remote pairing and travel-limit adjustment on common openers, which we’ll cover below.
- Photo-eye alignment, if the brackets are intact and the sensors just need nudging back into line.
Tier 2: Pro tools, not necessarily pro training
- Roller replacement – needs a ladder, the door to be at the right height, and the torsion system left completely alone.
- Hinge replacement on the lower panels, which carry the most door weight over time.
- Track alignment – doable if the track is only slightly out of plumb and the brackets are solid; a bent track is a different story.
- Panel replacement on a sectional door, if the panels are still in production for your model.
Tier 3: Never without a trained technician
- Torsion spring replacement or adjustment, full stop. This is the single most dangerous component on the door.
- Extension spring work, which carries the same stored-energy risk in a different configuration.
- Cable replacement or re-threading, because cables hold the door’s entire weight under tension.
- Opener replacement, which involves the motor’s connection to the door and the header bracket that keeps everything anchored.
- Any work on a door with a broken spring still attached, because the door is no longer balanced and the other spring is carrying double load.
A quick note on why Tier 3 is Tier 3. Torsion springs store enough energy to lift a door several hundred pounds. When one lets go, it does so instantly and in whatever direction the winding points. There’s no warning click before it happens. If you’ve ever seen a technician work a winding bar, you’ve seen someone who knows exactly how much force is sitting in that bar at every turn – and who is standing off to the side for a reason. That’s not a skill you can acquire from a video, and it’s the part of this trade most worth paying for. If something at your door is off, garage door repair starts with a proper look, not a guess.
Why Desert Heat Changes the Risk on Three Common DIY Repairs
Garage door parts are rated for a service life under reasonably normal conditions. Glendale summers don’t deliver those conditions. A garage that faces south can hit temperatures well above the outdoor reading, and the door, its springs, and its opener motor all live in that space. Heat cycle after heat cycle, the metals and plastics in the system fatigue faster than the rating charts assume. Three repairs where that matters most are spring adjustment, cable re-threading, and track alignment.
1. Spring adjustment
A torsion spring that’s been cooked through several Glendale summers will still turn – but its usable tension is lower than when it was new. What that means in practice: a spring you’d expect to hold its balance point no longer does, and adding tension to compensate puts more stress on a component that’s already stressed. Adjusting a tired spring to “make it work” is the classic mistake, and it’s the one most likely to fail suddenly. If your door is getting heavy to lift or is creeping down on its own, the answer isn’t more winding. It’s measurement: spring wire diameter, inside diameter, and length – the three numbers that determine the correct replacement. Guessing at those numbers is how a $200 repair becomes a much bigger one.
2. Cable re-threading
Cables don’t just snap, they fray – and heat accelerates the process where the cable winds around drums and passes over pulleys. When a cable comes off, the door’s weight redistributes instantly. That’s the moment people get hurt: they reach for the cable to guide it back onto the drum while the door is in the down position, not realizing the other cable is holding everything. If the door is already hanging crooked or the cable is off the drum, the door needs to be held correctly before anything else is touched. We’ve seen homeowners make this work on an older, cooler-weather door; in a Glendale garage in July, the margin is narrower.
3. Track alignment
Steel track expands in heat. A track that’s perfectly plumb in January can bind against a roller in August, which is why “my door sticks in the summer” is a common Glendale call. The temptation is to whack the track back with a hammer or shove it with a pry bar – both of which introduce a bend the rollers then have to run through. Track that’s out of line by a fraction of an inch is a homeowner fixable job if the brackets are solid; a track that’s been bent is not. The trick is knowing which one you’re looking at, and heat makes that harder because the symptom appears only in the afternoon. If your door’s behavior changes with the temperature, that’s the clue to slow down.
The Hidden Cost of DIY Errors in Glendale
Here’s the part nobody mentions in the tutorials: the repair you attempt and get partially right can cost more to undo than the original problem would have cost to fix. It’s not the injury risk or the time spent – it’s the compounding. A misjudged repair tends to damage adjacent components, and those components carry their own price tags.
- Parts warranties typically cover defects, not installation errors, and a lot of manufacturers can tell the difference. A warped bottom panel, a bent track, or a spring that was installed with the wrong winding direction may fall outside coverage. Before you order a part to self-install, read the installation terms and ask whoever sells it how the warranty applies to a DIY install.
- A small misalignment becomes a bigger one as the door runs off-spec for days or weeks at a time. A slightly bent track wears rollers evenly across the surface it’s rubbing; a badly bent track chews one edge until the roller is gone. The second problem is the expensive one.
- The opener is the quiet victim. A door that’s out of balance puts strain on the opener motor and its drive gear every time it moves. A $180 opener repair can become a full opener replacement because the motor has been fighting a door it wasn’t designed to carry. This is one of the most common things we see at doors in Glendale after a DIY fix.
- Doing a Tier 3 repair twice. The first attempt is a sunk cost; the second is the real one. When a spring isn’t measured correctly the first time, the replacement that follows is often the correct size plus the labor to rewind twice.
None of this is a reason to avoid the Tier 1 jobs on your own door. It’s a reason to know when you’re in Tier 3 territory and stop. The cost of a professional call on a job you could have done yourself is time and a small fee. The cost of a DIY attempt on a job you couldn’t is parts, labor, and possibly an injury. That asymmetry is the whole argument.
DIY Opener Programming vs. What Needs a Technician
Opener work splits cleanly along a line most tutorials blur: the electronics are usually yours to handle, and the mechanical connection between the opener and the door is usually not. Here’s the plain-language version.
You can usually handle:
- Remote and keypad pairing on LiftMaster, Chamberlain, and Genie openers, along with most others. The procedure varies by model, but it’s usually a button on the motor head plus a press of the remote – no tools required. Your owner’s manual has the exact sequence.
- Travel limit adjustment, which is the setting that tells the opener how far to raise and lower the door. On most modern openers, this is done with the up and down buttons on the motor head or a menu, and the manual walks you through it. The one thing to watch: adjusting travel limits to compensate for a door that’s binding is treating the symptom, not the problem.
- Force sensitivity settings – the setting that tells the opener how much resistance to push through before it reverses. These are user-adjustable on most models, but they exist as a safety feature. Raising the force setting to get a sticking door to close is a warning sign, not a fix.
- Photo-eye and safety-reverse testing, which you should do monthly regardless of who installed the opener.
Probably needs a technician:
- Opener replacement, because the new unit has to be mounted to the ceiling, the rail has to be aligned, and the header bracket has to be anchored to the structure above the door – a bad header bracket anchor is a real failure point.
- Drive gear or belt replacement, since the opener has to come apart and the drive assembly has to be re-timed.
- Logic board replacement, unless you’re comfortable with the wiring and have the model number confirmed.
- Anything where the opener reverses for no apparent reason – that’s a diagnosis problem before it’s a programming problem, and adjusting the settings on a malfunctioning safety system is the wrong move.
We work across the eight major brands most homes in Glendale already have – LiftMaster, Chamberlain, Genie, Clopay, Amarr, Wayne Dalton, Craftsman, and Raynor – which means we can usually tell you over the phone whether your opener’s symptom is a programming fix or a part failure. If it’s a part, that’s where garage door opener repair picks up.
Using a Professional Diagnosis as a Decision Point
This is the move most homeowners miss: you don’t have to choose between DIY and “call the pros and let them handle everything.” You can pay for a diagnosis and use it as a decision gate. A professional look at the door tells you whether the problem is one you can reasonably finish, or one you should hand off – and it turns a coin-flip decision into an informed one.
Here’s how to use a diagnosis visit as the decision point:
- Describe the symptom precisely over the phone – “the door goes up about a foot and stops” is more useful than “the door is broken.” The symptom narrows the likely cause before anyone arrives, which is often enough to tell you the tier of work involved.
- Ask for the finding in plain terms, not just a quote. A good technician can tell you what’s wrong, what would happen if it’s left, and what’s involved in fixing it. That’s the information you need to make your call.
- Get the price in writing before any work starts – a diagnosis plus a written estimate is the baseline. You should know the final number before anyone touches the door.
- Decide with the numbers in front of you. If the report says the spring is within spec and the issue is a track out of line, that’s a Tier 2 job you can handle. If the report says the spring is failing, that’s Tier 3, and the decision is already made.
- Keep the report. A written summary of what was found is useful if the same area acts up later, and it gives the next technician a starting point.
We’ve seen plenty of Glendale doors where the homeowner’s original diagnosis was wrong by a mile – the “track problem” was a failing spring, the “spring problem” was a stretched opener belt. That’s the value of the diagnosis visit: it replaces the guess with a finding. It’s also why we don’t upsell from it; if the answer is “you can finish this yourself,” that’s the answer.
Jobs That Are Genuinely DIY-Safe
Enough about what not to do. Here’s what you can reasonably do yourself, in order of how much of a difference it makes.
- Monthly safety test: put a roll of paper towels on the floor under the door, close it, and confirm the door reverses on contact. Test the photo eyes by obstructing the beam with the door open and pressing close. This two-minute check catches more problems than any other task on the list.
- Lubrication twice a year: a proper door lubricant on the hinges, rollers, and torsion bar. Not WD-40, which is a solvent, not a lubricant. Watch the rollers for flat spots or rust lines as you go – they’re the easiest failing part to spot early.
- Weatherstrip and bottom-seal replacement: the bottom seal slides into a retainer on the door’s bottom panel and usually doesn’t require any part of the tension system to be moved. This is a one-afternoon job with a tape measure and the right replacement profile.
- Panel cleaning and paint touch-up: dust is a real issue in Glendale garages, and a clean panel surfaces cracks and dents you’d otherwise miss.
- Remote and keypad programming: covered above.
- Visual inspection of the springs – from a distance. A spring with visible gaps, a stretched section, or rust lines at the coil ends is on its way out. Note it and book a technician; don’t touch it.
If you’re not sure whether a task belongs on this list, the safe default is to slow down and get a second opinion. Pearl Garage Door Repair handles Glendale doors of every vintage, and a quick call is a better use of your time than an afternoon on a job that was never going to end well.
The Tools You’d Need (and What They Cost Against a Service Call)
One way to settle the DIY question quickly is to price the tools. If the toolkit costs more than a professional repair, the math has already told you the answer. Here’s the honest comparison for the most common garage door jobs.
- Lubrication: one can of door lubricant. That’s it. Do it yourself every time.
- Weatherstrip replacement: a tape measure and the correct replacement profile. A screwdriver if the retainer is held by screws. Reasonable DIY.
- Roller replacement: a ladder, a socket set, and a locking pliers to hold the door in place. Modest toolkit, but the door has to be held correctly while you swap rollers – and if the door is on a torsion system, the door has to be at the right height with the spring still under load. That’s the catch most people hit.
- Track alignment: a level, a socket set, and possibly a rubber mallet. The tools are cheap; the judgment about how far a track can be moved before the brackets need re-anchoring is the expensive part.
- Torsion spring replacement: winding bars, spring measurement tools (calipers, not a ruler), the correct matched replacement springs, and the knowledge of how to safely unwind and rewind. The tooling alone runs well past a typical service call, and this is the one that shouldn’t be attempted regardless.
- Opener replacement: a drill, a socket set, a ladder, a helper for the motor head. The tools are standard; the header bracket and rail alignment are where mistakes happen.
The honest summary: if you already own the tools for a Tier 1 or Tier 2 job, the DIY math can work. If you’re buying the tools specifically for a Tier 3 job, that purchase will cost more than a professional repair, and it leaves you holding the risk on the part of the job that carries it.
What Changes by Glendale Neighborhood
Garage door problems aren’t evenly distributed across Glendale, and part of that is housing stock. Two neighborhoods with different door eras will have different likely failures.
Older sections of Glendale with more established housing stock tend to have the older, heavier doors and the original openers – which often means extension springs and chain-drive openers. Those systems are more likely to need replacement than repair, and they’re the ones most likely to have been repaired semi-correctly in the past. If you live in a home where the opener looks like it’s from a different decade than the door, that’s the pattern to look for. Newer construction on Glendale’s edges is more likely to have torsion doors with belt-drive openers – quieter, but with the same spring logic inside, and the same heat exposure in the garage.
The heat is universal. A north-facing garage runs cooler than a west-facing one, but a valley summer will still push the inside temperature high enough to accelerate wear on springs, cables, and opener drive components. The doors that fail earliest are the ones that get direct afternoon sun on an uninsulated door – not because the door fails, but because the spring above it has been running at the top of its range for years. That’s a reason to check spring condition on a schedule rather than wait for the door to stop working.
Common Mistakes to Avoid
- Adjusting a tired torsion spring to “make it work” instead of measuring it and replacing it. A spring that needs more tension than it had when new is a spring that’s already failing – adding tension to a heated, fatigued spring is the most dangerous version of this mistake.
- Reaching for a cable that’s come off the drum. The other cable is under full load, and the door can drop the moment the weight shifts. If a cable is off, the door should not be operated and no part of the tension system should be touched.
- Raising the opener’s force setting to push through a binding door. The force setting is a safety limit, not a performance dial. If the door needs more force to close, the door has a problem the opener can’t solve.
- Assuming Glendale’s heat is the only variable and ignoring the door itself. Summer is when the symptom shows up, but the cause is often years of wear that only became visible when the load went up.
- Buying a spring replacement from the label on the old spring. Springs are matched by wire diameter, inside diameter, and length – three measurements, not one stamped number – and a mismatched spring on a door with two is a short-lived fix.
- Filing a warranty claim after a self-installed part has failed. Read the installation terms before you order, especially for openers and springs, because installation-related failures often fall outside coverage.
- Assuming a “track problem” is a track problem. A door that rubs, sticks, or jumps is more often out of balance than out of track, and the two have different fixes.
See the difference
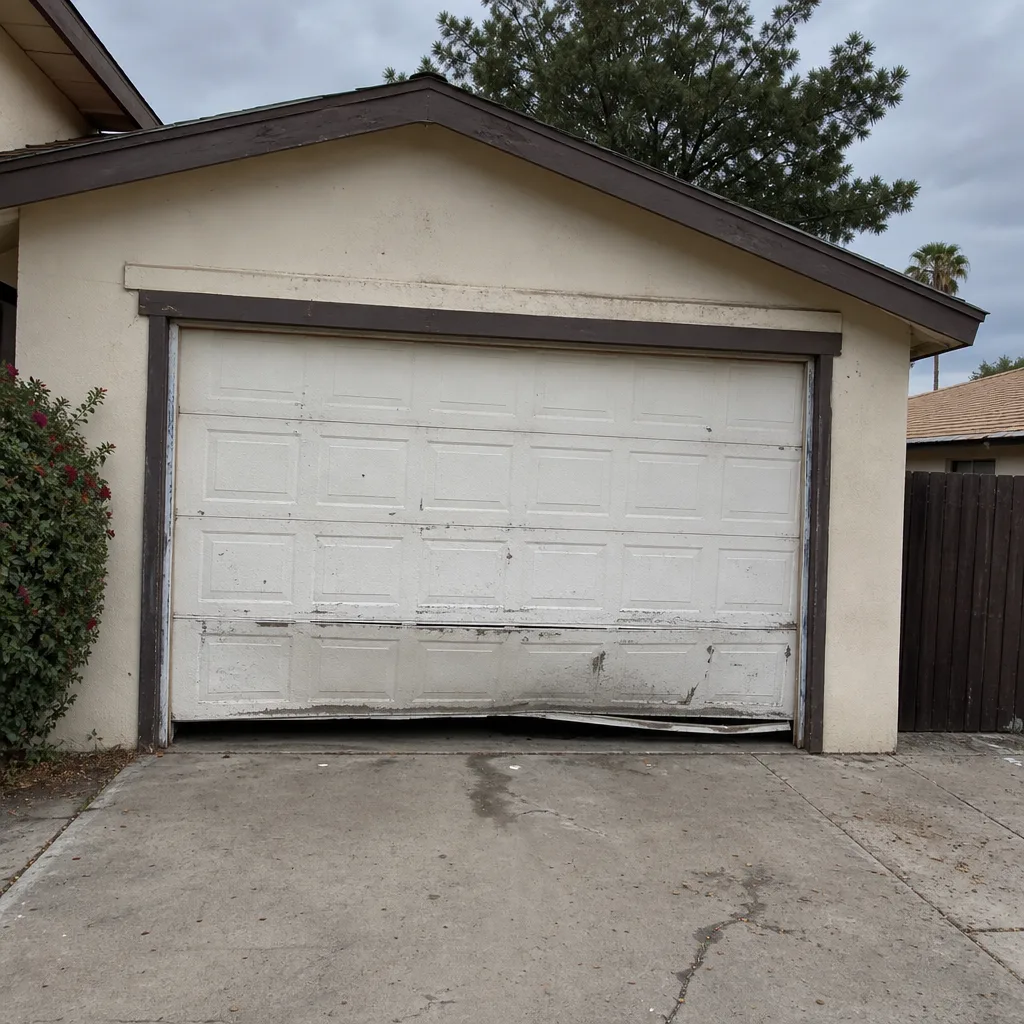 Before
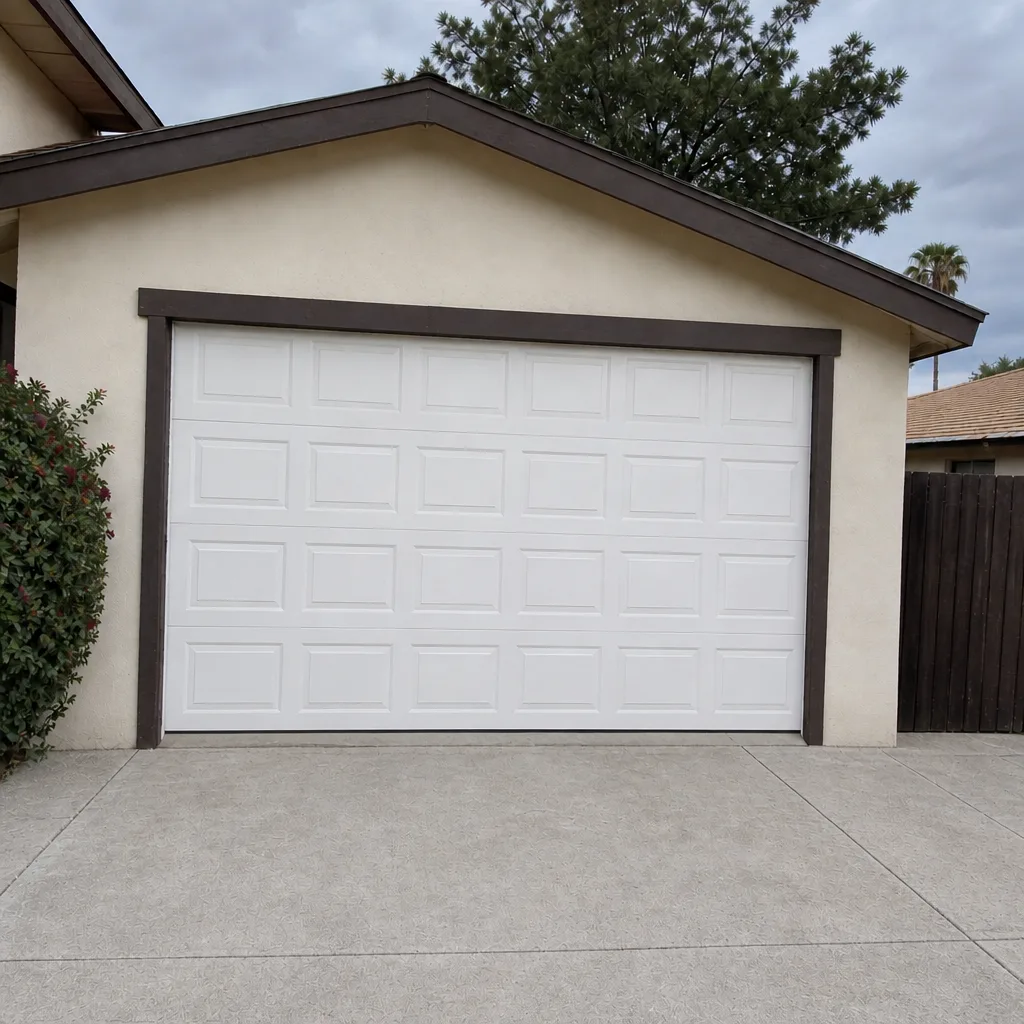 After
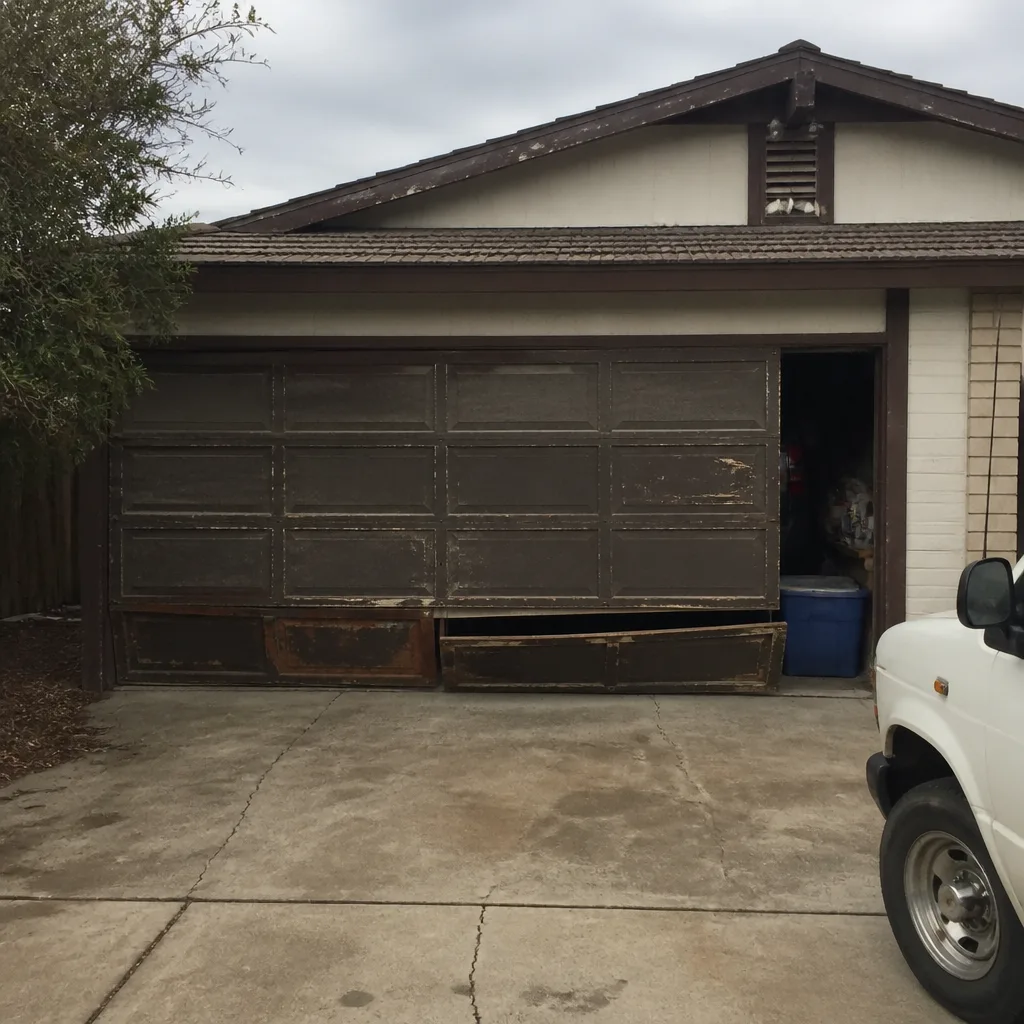 Before
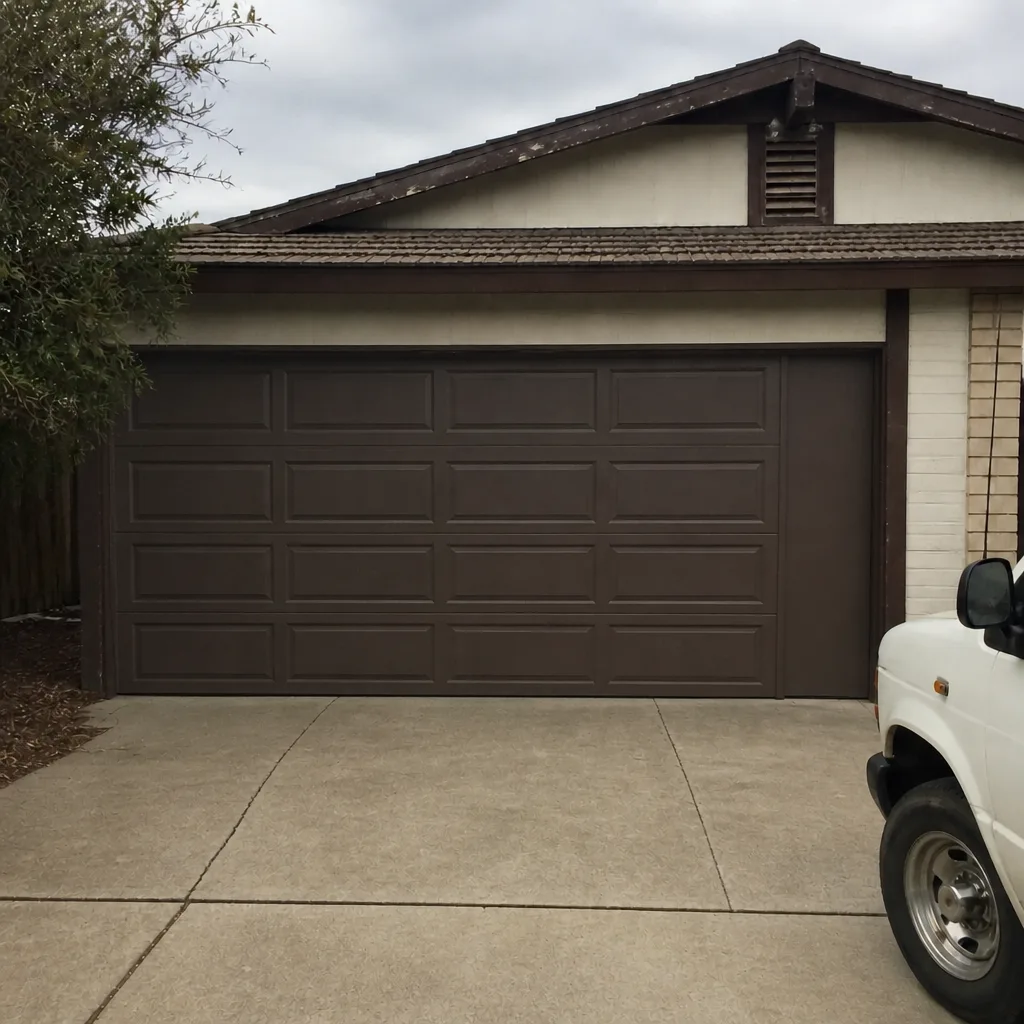 After
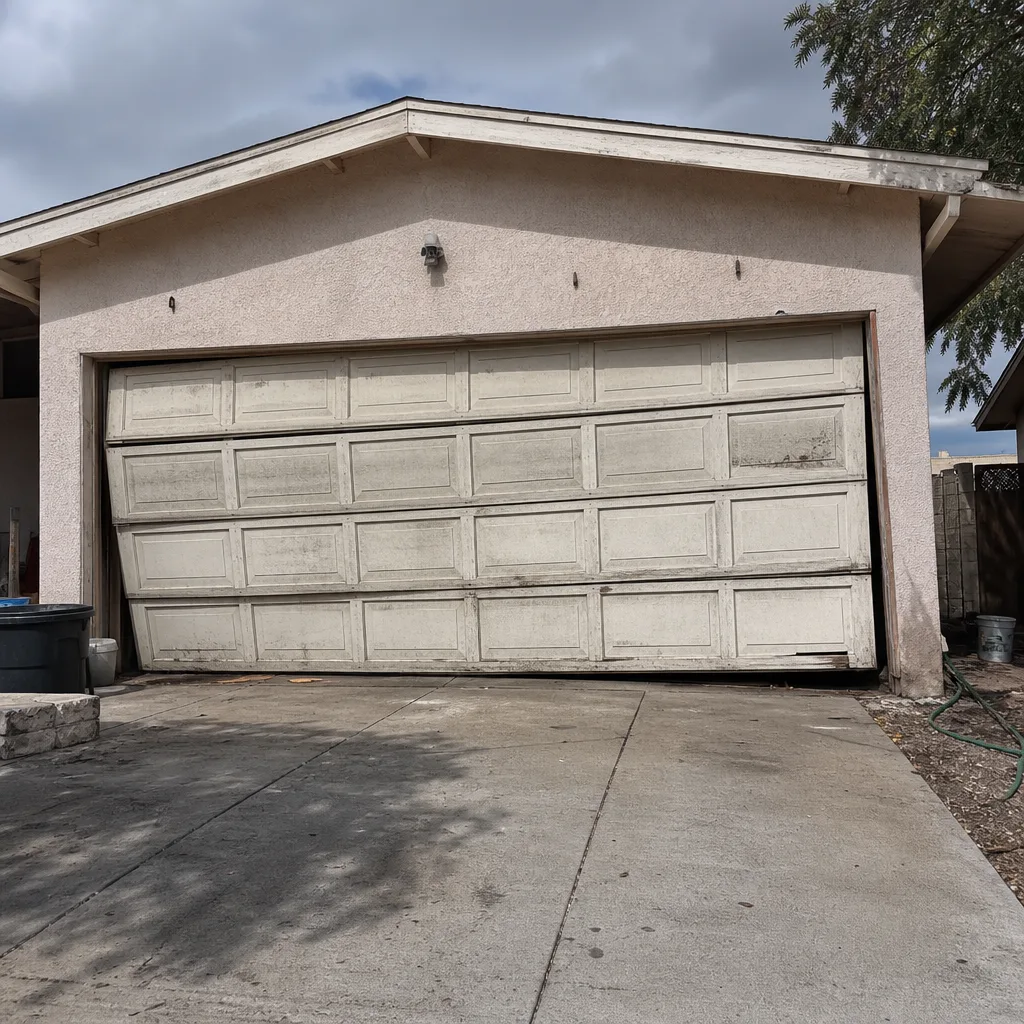 Before
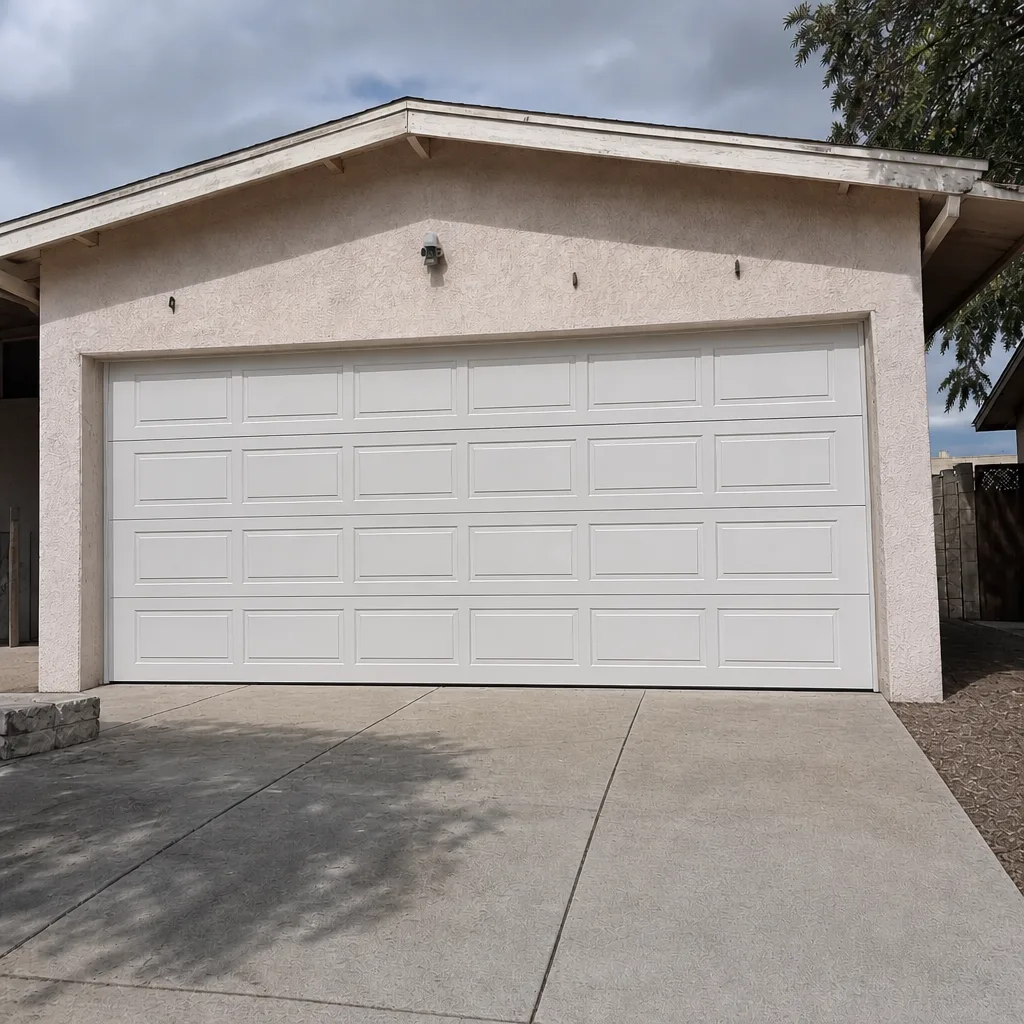 After
When to Call a Professional
Some situations aren’t a judgment call. If a spring is broken, if a cable is off or frayed, if the door won’t hold its position when you lift it a few inches and let go, or if the opener reverses for no reason and the photo eyes check out, that’s a technician’s job. If the door has come off its track entirely, if the door is more than slightly crooked when closed, or if you see daylight through the door panels in an odd pattern, stop operating it and call. Heat-related symptoms that only appear in the afternoon also warrant a professional look, because the cause needs diagnosing rather than the symptom adjusting. Pearl Garage Door Repair offers free estimates in Glendale – call (877) 490-7828. We’ll tell you plainly whether it’s a job to hand off or a job you can finish yourself.
Frequently Asked Questions
It depends entirely on the task – lubrication, weatherstrip, and remote programming are safe for most homeowners, while spring, cable, and opener-replacement work are not. The heat in Glendale tilts the balance toward professional service for anything involving the door’s tension system, because a tired spring under summer load has less margin for error than the same spring in a mild climate. For Tier 1 and light Tier 2 jobs, DIY is reasonable; for anything else, call a professional.
It varies by job – a track realignment, roller swap, or opener programming is a small repair, while spring replacement and opener replacement sit at the higher end. We don’t quote a fixed number here because the range depends on door size, spring configuration, and part availability for your model, and a written estimate is the only reliable answer. What we can tell you is that the estimate is free, the price is agreed before any work starts, and the written number is the number you’re billed. Call (877) 490-7828 for a specific quote on your door.
No – this is the one job on the whole door that we recommend against without exception. A torsion spring stores enough energy to seriously injure whoever winds it, and the procedure requires winding bars, measurement tools, and specific knowledge of how the spring matches the door’s weight. Springs are matched by wire diameter, inside diameter, and length, and a mismatched spring on a two-spring door fails early and unpredictably. Call a technician for spring work, every time.
Heat is usually the trigger – steel track expands, spring tension shifts as the metal warms and cools, and components that are near the end of their service life move under the higher load a hot day demands. In Glendale, the symptom showing up only in the hotter months usually means the door is out of balance or a component is tiring, and it needs a diagnosis rather than an adjustment. If your door’s behavior changes with the temperature, book a technician to measure it.
Often, yes – most manufacturers cover defects in the part, not the installation, and an installation error typically falls outside coverage. Before you buy a part to install yourself, read the warranty terms and ask the seller how a self-install affects the claim. If the part is expensive or the install is involved, the warranty math usually favors a professional, because the labor to redo it comes out of your pocket either way.
Yes, and it’s a sensible use of the estimate. A diagnosis visit tells you what’s actually wrong, what’s involved in fixing it, and whether the fix is one you can reasonably finish yourself. We don’t treat a diagnosis as a commitment to hire us; we treat it as the information you need to make a decision. Call (877) 490-7828 for a free estimate. We answer 24/7.
The Bottom Line
The DIY question for a Glendale garage door isn’t about confidence, it’s about the shape of the risk on each specific task. Maintenance, weatherstrip, and most opener programming are yours for the doing. Spring, cable, and full opener replacement are not, and desert heat makes that line sharper than the tutorials assume. The practical answer: do the Tier 1 jobs yourself on a schedule, use a professional diagnosis when you’re unsure which tier you’re in, and hand off anything that involves the door’s tension. That’s not a sales line. It’s the version of this decision that leaves you with a working door and no surprises on the invoice.
If the door in question needs a look, Pearl Garage Door Repair is here. We handle door and opener together, we work across the eight major brands most Glendale homes already have, and we’ll quote the job in writing before anyone starts. Call (877) 490-7828 for a free estimate. We answer 24/7. Fast dispatch from 7am to 7pm, Sunday through Friday.
Written by the team at Pearl Garage Door Repair.